Installing MySQL 5.6 on CentOS 6.4 using YUM

Bildiyimiz kimi EL-6 Linux-lar üçün MySQL official repo yox idi.
Hər OS özü MySQL-i build edirdi və öz native repo-sunda yerləşdirirdi.
Lakin Oracle Official YUM repo-nu təqdim edib.
Biz də onu indi sizlərlə test edəcik.
İlk öncə rəsmi repo-nu əlavə etməliyik. Bu məqsədlə repo faylını downlaod edirik:
Daha sonra onu install edirik:
[root@localhost Downloads]# yum localinstall mysql-community-release-el6-3.noarch.rpm
.
.
.
Installing : mysql-community-release-el6-3.noarch                         1/1
Verifying  : mysql-community-release-el6-3.noarch                         1/1

Installed:
mysql-community-release.noarch 0:el6-3

Complete!
Enable olduğunu test edirik:
[root@localhost ~]# yum repolist enabled | grep "mysql-community"
mysql-community                  MySQL Community Server                      18
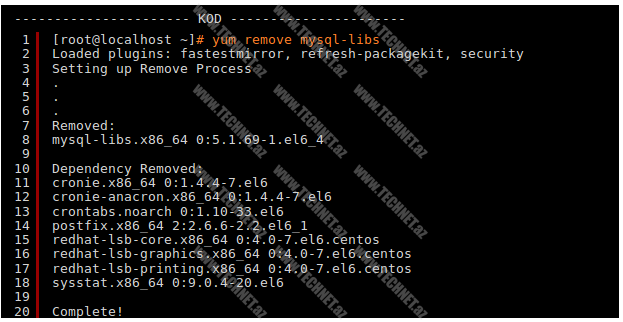
MySQL-in install-ına keçməmişdən əvvəl mütləq şəkildə köhnə mysql-libs paketini silmək lazımdır:
[root@localhost ~]# yum remove mysql-libs
Loaded plugins: fastestmirror, refresh-packagekit, security
Setting up Remove Process
.
.
.
Removed:
mysql-libs.x86_64 0:5.1.69-1.el6_4

Dependency Removed:
cronie.x86_64 0:1.4.4-7.el6
cronie-anacron.x86_64 0:1.4.4-7.el6
crontabs.noarch 0:1.10-33.el6
postfix.x86_64 2:2.6.6-2.2.el6_1
redhat-lsb-core.x86_64 0:4.0-7.el6.centos
redhat-lsb-graphics.x86_64 0:4.0-7.el6.centos
redhat-lsb-printing.x86_64 0:4.0-7.el6.centos
sysstat.x86_64 0:9.0.4-20.el6

Complete!
Və MySQL-in ən son versiyası olan 5.6.14-ü install edirik:
[root@localhost ~]# yum install mysql-server
.
.
Installed:
mysql-community-server.x86_64 0:5.6.14-3.el6

Dependency Installed:
mysql-community-client.x86_64 0:5.6.14-3.el6
mysql-community-common.x86_64 0:5.6.14-3.el6
mysql-community-libs.x86_64 0:5.6.14-3.el6

Complete!
MySQL-i start edirik:
[root@localhost ~]# service mysqld start
Initializing MySQL database:  2013-10-28 20:39:24 0
.
.
[  OK  ]
Starting mysqld:                                           [  OK  ]
Və ən sonda production server-lərdə istifadəsi məsləhət görülən mysql_secure_installation scriptini çalışdırırıq.
[root@localhost ~]# /usr/bin/mysql_secure_installation
.
.
All done!  If you've completed all of the above steps, your MySQL
installation should now be secure.

Thanks for using MySQL!
Və Connect oluruq:
[root@localhost ~]# mysql -u root -p
Enter password:
Welcome to the MySQL monitor.  Commands end with ; or \g.
Your MySQL connection id is 13
Server version: 5.6.14 MySQL Community Server (GPL)

Copyright (c) 2000, 2013, Oracle and/or its affiliates. All rights reserved.
Çox sadə yolla artıq həm də MySQL-i update etmək olacaq.
Təşəkkürlər 😉


Şərhlər ( 2 )
Salam Şəhriyar bəy, məqalə üçün təşəkkürlər.
/usr/bin/mysql_secure_installation zamanı bəzi step`lərlə qarşılaşıram. Həmin step`ləri izah edə bilərsinizmi?
Eleyke salam,
http://www.youtube.com/watch?v=LR52rNCLJ8M
Bu video tutorialimda 2:23 saniyədən sonra /usr/bin/mysql_secure_installation-nun istifadəsini göstərmişəm.